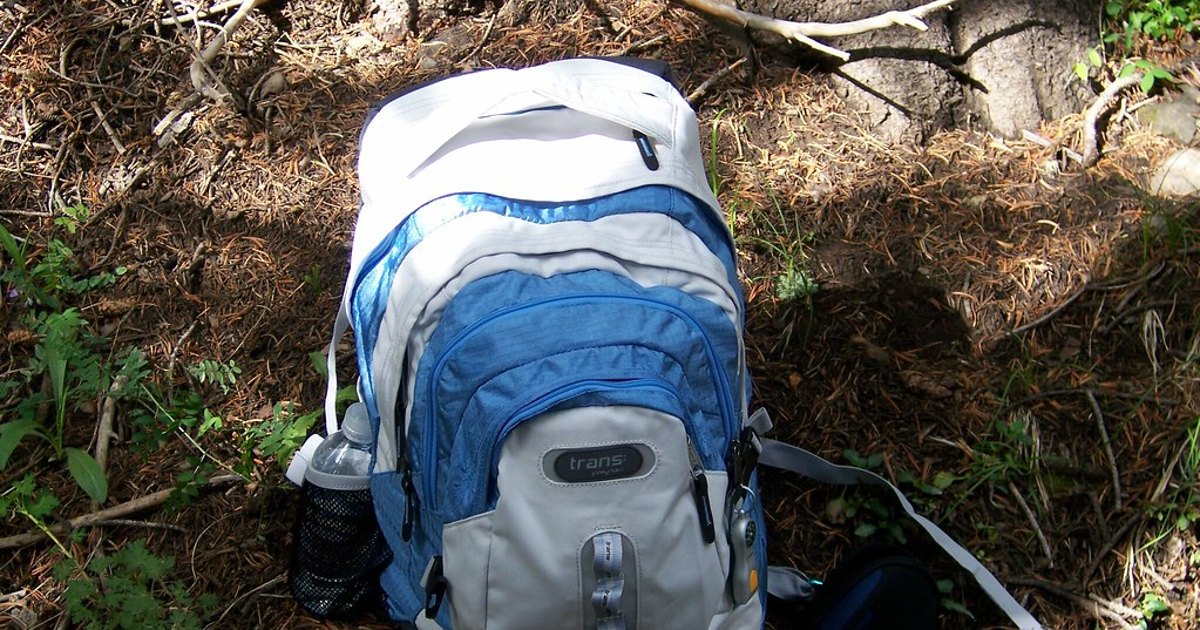
The right hiking backpack is chosen in this order: fit first, capacity second, features last. Measure your torso length and check it against the size chart for the pack you’re considering, make sure the hip belt wraps the top of your hips, then pick a volume that matches how many nights you’ll be out. A pack that carries weight on your hips and sits flat against your back will feel light; a bigger, fancier pack that doesn’t fit your torso will not. Everything below expands on those three steps and tells you when you don’t need to buy anything new.
Key Takeaways
- Fit is set by torso length and hip size, not by your height or shirt size. Measure before you shop.
- The hip belt should wrap the top of your hip bones so your legs, not your shoulders, carry the load.
- Match capacity to trip length: roughly a daypack for day trips, a mid-size pack for a weekend, and a larger pack for multi-day trips.
- Load-test with real weight in the store, and skip a new purchase if a well-fitting pack you already own covers the trip.
- Whatever you choose, it has to hold the Ten Essentials plus your food and water for the day.
How Do You Measure Torso Length for a Backpack?
Backpack fit is built around your torso length, which is the distance along your spine from the bony bump at the base of your neck to the level of the top of your hip bones. To find it, tilt your head forward and feel for the knob where your neck meets your shoulders (the C7 vertebra). Then put your hands on your hips with your thumbs pointing back, and feel for the shelf of your pelvis (the iliac crest). Have someone measure the distance between those two points along your spine while you stand upright. That number, not your height, is what pack sizes are keyed to.
Torso length matters because two people the same height can need different sizes. Some packs come in fixed sizes labeled small, medium, and large; others have an adjustable back panel that slides to cover a range. Once you have your measurement, compare it to the size chart for the specific pack you want. Manufacturers publish these charts, and the ranges differ between brands and even between models, so a “medium” in one line is not automatically a medium in another. When your torso falls near the edge between two sizes and the pack is adjustable, the adjustable model is usually the safer choice.
Why the Hip Belt Matters More Than the Shoulder Straps
On a loaded hiking pack, the hip belt is the main weight-bearing part, and the shoulder straps mostly keep the pack from tipping backward. The belt should wrap the top of your hip bones, with the padded sections resting on the bony shelf you found earlier rather than sliding down onto the soft part below. When it sits correctly and is snugged firmly, the load transfers to your hips and legs, which are far stronger and less prone to fatigue than your shoulders and neck.
To check hip size, wrap the belt around the top of your hips and see whether the padded pads meet in front with room for the buckle and a few inches of adjustment on each side. Many packs offer belts in more than one size, or belts you can swap, because torso length and hip circumference don’t always come in the same “size” for the same person. If the belt bottoms out or gapes, no amount of shoulder-strap tightening will fix the fit.
What Size Backpack Do You Need?
Capacity is measured in liters and should follow how long you’ll be out and how bulky your gear is, not how much you think you might want to bring. Packs are commonly grouped into rough ranges: a daypack for single-day outings, a mid-size pack for one to three nights, and a larger pack for multi-night and extended trips. These are conventions rather than fixed rules, and the same trip can call for a bigger pack in cold weather, when bulky insulation, a warmer sleeping bag, and extra layers take up more room.
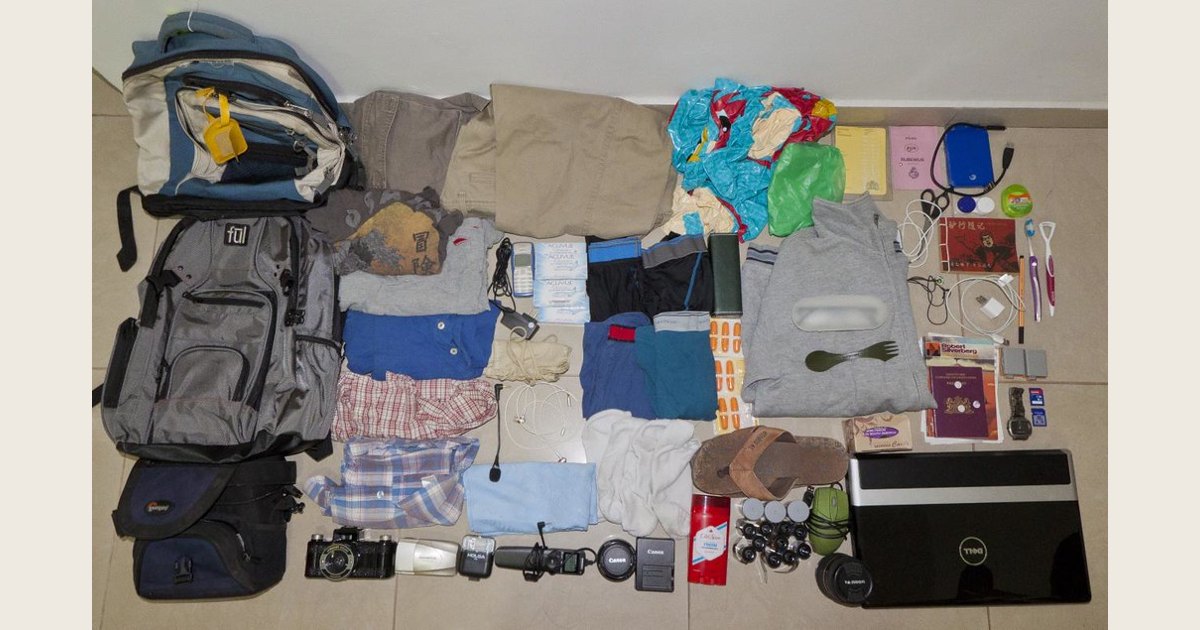
A layout of the gear one hiker packed for a long trip. Seeing everything spread out is a useful way to estimate the volume you actually need before choosing a capacity. Photo: Backpack Contents for 188 days by Nestor’s Blurrylife, Flickr; CC BY 2.0. Resized and padded. Illustrative stock photo; no product testing is implied.
The most reliable way to size capacity is to lay out everything you carry and pack it once. Your pack has to fit the Ten Essentials that the National Park Service recommends for any outing, including navigation, sun protection, extra clothing, a headlamp, first-aid supplies, fire, a repair kit, extra food, water and treatment supplies, and emergency shelter (National Park Service, “Ten Essentials,” retrieved 2026-09-14). Water is heavy and takes space, and some routes have no reliable water source, so you may need to carry extra or carry the means to treat it (National Park Service, “Hike Smart,” retrieved 2026-09-14). Add those to your sleep system and food, and you’ll quickly see whether a given volume is realistic. Buying more liters than you need just tempts you to fill and carry them.
Internal vs. External Frame and Suspension Features
Most modern hiking packs use an internal frame, where stays or a framesheet are built into the pack body to keep the load close to your back and stable on uneven trails. External-frame packs, with a visible rigid frame outside the bag, are less common today but can carry heavy or oddly shaped loads high and ventilate the back well. For general trail hiking, an internal frame is the usual starting point.
A few suspension features are worth understanding because they change how a pack rides:
- Load-lifter straps run from the top of the shoulder straps to the top of the pack. Tightening them pulls the load toward your body and off your shoulders; leaving them loose lets the pack sag backward.
- Ventilation varies. Some packs use a tensioned mesh back panel that holds the bag slightly off your spine for airflow, which trades a little load stability for a cooler back.
- A sternum strap connects the shoulder straps across your chest and keeps them from sliding outward. It’s a stabilizer, not a load carrier.
None of these substitute for correct torso and hip fit. They fine-tune a pack that already fits.
Women’s and Youth-Specific Fits
Women’s and youth-specific packs exist because body proportions differ, not for marketing reasons. Compared with a unisex or men’s pack of the same volume, these are typically built on shorter torso lengths, with narrower and more contoured shoulder straps and hip belts shaped for a different pelvis. If a standard pack’s smallest size still leaves the hip belt riding too low or the shoulder straps digging into your neck, a women’s or youth fit may solve it. As always, the specific measurement matters more than the label, so check the torso range on the size chart. Fit is individual: plenty of people are best served by a pack outside the category their body “should” fall into.
Load-Test the Pack Before You Decide
A pack only proves itself under weight. In a store, ask staff to add sandbags or weights to simulate a real load, usually in the range you’d actually carry, then put it on and adjust it in order: loosen everything, seat the hip belt on your hips and tighten it, snug the shoulder straps, set the load lifters at roughly a 45-degree angle, and clip the sternum strap. Walk around, bend over, and climb stairs if you can. The weight should feel like it’s sitting on your hips, the pack shouldn’t rock side to side, and the shoulder straps shouldn’t be carrying the load.
Pay attention to pressure points. Hot spots on your shoulders, collarbone, or lower back at ten minutes will be worse at ten miles. If a pack can’t be adjusted to sit comfortably in the store, it won’t improve on the trail. This is also where the National Park Service’s advice to know your limits applies: be honest about how much weight you can comfortably carry, and for how long, before you commit to a big pack you’ll load to the top (National Park Service, “Hike Smart,” retrieved 2026-09-14).
When You Don’t Need to Buy a New Pack
Not every hike calls for a purchase. If you already own a pack that fits your torso, carries weight on your hips, and matches your trip length, use it. For a day hike, a daypack or even a well-fitting school or commuter pack can carry water, snacks, layers, and the essentials without anything specialized. If you only backpack once or twice a year, renting or borrowing a larger pack is often smarter than buying one that lives in a closet, and it lets you try a size before committing.
Consider a new pack when your current one genuinely doesn’t fit your torso, when the hip belt can’t be tightened onto your hips, or when you’re moving to longer trips that your daypack can’t hold. Those are fit and capacity problems that features and accessories won’t fix. Short of that, the pack you can adjust to ride correctly is usually the right one, whether it’s new or already yours.
Common Fit Problems and Quick Fixes
If the pack still feels wrong after you buy, start with the easy checks before assuming it’s the wrong pack:
- All the weight is on your shoulders. Loosen the shoulder straps, re-seat the hip belt on top of your hips, tighten the belt first, then re-snug the straps.
- The pack pulls backward. Tighten the load-lifter straps so the top of the pack draws in toward your body.
- The hip belt slides down. It may be sitting too low, or the belt size may be wrong for you. Reposition it on the iliac crest; if it still slips, a different belt size may be needed.
- The load sways on uneven ground. Pack heavy items close to your back and centered, and cinch the compression straps so nothing shifts.
Work through these in order. If none of them seat the load on your hips, the torso length is likely wrong for your body, and that points back to measuring and the size chart rather than to more adjusting.
Cover photo: hiking backpack by andrew.petro, Flickr; CC BY 2.0. Resized and cropped. Illustrative stock photo; no product testing is implied.