A good women’s hiking backpack is not simply a smaller pack. It is a pack that matches your torso, lets the hip belt sit comfortably where you need it, and holds the gear your trip actually calls for without becoming unwieldy. A women’s-specific model can be a useful place to start, but it is not a substitute for trying on several packs with weight inside.
Begin with fit, then choose capacity from your packing list, and finally compare suspension and access features. That order keeps a flattering color, an ambitious liter number, or a long list of pockets from distracting you from the part that matters most: whether you can carry the pack comfortably for the hike you have planned. For a broader walkthrough of torso length, capacity, and suspension, see How to Choose a Hiking Backpack.
Key takeaways
- Choose a size from the brand’s torso-size guidance, not from your standing height or the women’s label alone.
- A hip belt and shoulder harness should feel settled and adjustable with a realistic load inside the pack.
- Build capacity around your shelter, sleep system, food, water, layers, and trip conditions—not around the number of nights alone.
- Compare women’s-specific and unisex packs by fit. The better option is the one that works on your body after adjustment.
- Test a pack before its return window closes, ideally on a short walk with the gear you expect to carry.
Treat “women’s” as a fit starting point, not a rule
The useful question is not “Do I need a women’s pack?” It is “Does this harness and hip belt fit me well enough for the intended load?” Pack makers use women’s-specific labels differently, so do not assume the same cut, torso range, or belt shape from one brand to another.
When you compare a women’s-specific pack with a unisex version, look at what you can actually test:
- Torso-size range: Does the pack offer a size or adjustment range that includes your measured torso length?
- Shoulder-harness shape: Do the straps lie smoothly from your shoulders to the pack, without digging at the neck or rubbing under the arms?
- Hip-belt shape and range: Can the padded sections wrap your hips comfortably and tighten without running out of adjustment?
- Overall proportions: Does the back panel, harness placement, and pack height feel natural when you stand and walk?
A pack marketed to women may be the quickest path to a better fit, especially if its available torso sizes and harness shape suit you. It may also be wrong for you. Likewise, a unisex or men’s model can be the better answer when its sizing and belt shape work better. Fit is personal; the label is only a filter for the fitting-room rack.
Start with torso length and hip-belt fit
Do not choose a hiking backpack by height alone. Use the torso-measurement method in the manufacturer’s size chart, and have another person help if the instructions call for a measurement along your back. The goal is to narrow the choices to packs whose torso setting can place the harness in the right area for you.
Then try the pack on in this order:
- Set the torso adjustment according to the brand’s directions before tightening everything else.
- Loosen the harness, sternum strap, and load-lifter straps so you can start from a neutral position.
- Position and buckle the hip belt where it feels stable and comfortable on your hips. Tighten it enough that the pack does not slide, not so hard that it pinches.
- Snug the shoulder straps just until they follow your shoulders and control the pack. They should not feel like they are doing all the carrying.
- Connect the sternum strap at a comfortable height. It should guide the shoulder straps, not squeeze your chest.
- Make small load-lifter adjustments if the pack includes them, following the brand’s instructions. Recheck how the pack sits after each change.
This sequence is worth repeating after you add weight. An empty pack can feel acceptable while concealing a poor torso setting or an uncomfortable belt. Bring the water, insulation, and other dense items you would normally carry—or use store-provided test weight—and walk long enough to notice pressure points.
What to notice while walking
A promising fit feels stable without requiring constant readjustment. Pay attention to the places you tend to notice only after a few minutes: the top of your shoulders, the space around your neck and underarms, the front edge of the hip belt, and the lower back. Make one adjustment at a time so you can tell what improved or worsened the feel.
Do not write off a problem as something you will “break in” if the pack has an obvious hot spot, if the belt will not stay where you place it, or if the shoulder harness cannot settle comfortably. First try the available torso adjustment and a different belt or pack size. If that does not help, try a different model rather than forcing a mismatch.
Choose capacity from your gear list and conditions
Trip length matters, but it is an incomplete shortcut. Two people headed out for one night can need very different volumes because their shelter, sleeping bag, food plan, water carry, weather layers, and shared gear differ. Seasonal conditions and the route also change the answer.
Start by placing all the items you plan to take into these groups:
| Trip need | What changes the pack space you need |
|---|---|
| Core safety and navigation | Map, navigation backup, light, first-aid supplies, sun protection, repair items, and emergency shelter |
| Water and food | How much water you must begin with, treatment supplies, meals, and an extra food portion |
| Weather protection | Rain gear, insulation, and other layers appropriate to expected and changing conditions |
| Overnight equipment | Shelter, sleep system, camping stove cooking equipment, and any shared items |
| Personal items | Medications, hygiene items, camera gear, kid gear, or other non-negotiables |
The National Park Service says the Ten Essentials should be adapted to the activity and may need additions for the trip; its categories include navigation, extra clothing, illumination, first aid, repair tools, nutrition, hydration, and emergency shelter. NPS, “Ten Essentials” The American Hiking Society likewise recommends carrying the Ten Essentials on every hike, including water and treatment, food, rain gear and layers, safety items, first aid, a repair tool, sun protection, and shelter. American Hiking Society, “The Ten Essentials of Hiking”
That list does not prescribe a particular pack size. It does give you a grounded way to make one: lay out the equipment for a representative trip, then see whether it fits in the pack without compressing items carelessly or strapping a loose collection of gear to the outside.
For a day hike, a compact setup may be appropriate when your clothing, water, food, and safety items are minimal. For an overnight or longer trip, add the space needed for shelter and sleep equipment before deciding a pack is large enough. Colder, wetter conditions and trips with a long carry from the trailhead can call for more volume than a fair-weather trip of the same length.
Avoid buying the largest pack “just in case.” Extra unused space can invite inefficient packing, while a pack that barely closes leaves no room for a changed forecast or an additional water carry. If you are between two capacities, pack your actual equipment into both when possible. The choice with sensible remaining room—not an overstuffed lid or a cavernous main compartment—is usually easier to manage.
Compare support and access features by the trip you take
Once a pack fits and has the right working capacity, features can separate two otherwise suitable options. Think in tradeoffs rather than checkboxes.
A more structured suspension can be useful when you expect a heavier or more variable load and want the pack to stay composed. A simpler, lighter design may suit a small day load and make the pack less fussy to pack. Neither is automatically better; compare both with roughly the weight you expect to carry.
For organization, decide where you need quick access. Side pockets can keep water or a rain layer handy. A front stash pocket can hold a shell or map. A separate sleeping-bag compartment may be useful if that layout matches how you pack, but it also divides the main space. Hydration-reservoir sleeves, trekking-pole attachments, removable lids, and compression straps are worthwhile only when you will use them.
Also check the practical details that can be missed in a showroom: Can you reach a water bottle while wearing the pack? Do the zippers and buckles operate easily? Can you secure loose strap tails? Does the rain cover, if included, have a place to live when it is dry? These are not luxury concerns when you are managing gear in wind or rain.
Use this pre-purchase fitting test
Before removing tags or committing to a nonreturnable trip, run a short, realistic test:
- Pack the heaviest items close to your back and secure the load so it does not shift.
- Wear the layers you are likely to hike in, including a jacket if cool-weather use is part of the plan.
- Adjust the pack from the hip belt outward, then walk stairs, a hill, or a neighborhood loop.
- Move your arms as you would with trekking poles and turn your torso to make sure the pack does not interfere.
- Stop after several minutes, note any pressure or rubbing, and make one adjustment at a time.
- Repeat with a different torso setting or model if you cannot make the discomfort go away.
This is also a good time to practice packing. Keep frequently used items accessible, protect items that must stay dry, and avoid relying on external straps for essentials that should be inside the pack. The goal is not to make every cubic inch full; it is to create a stable load you can find and manage.
Troubleshoot common fit problems
| If you notice this | Try this before giving up on the pack |
|---|---|
| Shoulder pressure or a gap near the shoulder straps | Recheck the torso setting, loosen and reset the harness, then try another size or model if the shape still does not follow your shoulders. |
| Hip-belt pinching, gapping, or slipping | Reposition it, confirm the belt size has enough adjustment range, and compare another belt shape or pack. |
| The pack leans, sways, or feels hard to control | Repack dense items closer to your back, tighten the compression straps, and reduce dangling exterior gear. |
| You cannot fit what you need without overstuffing | Revisit bulky gear and water needs, then compare the next capacity up rather than forcing the closure. |
| You have too much empty space | Use compression straps to stabilize the load, or consider whether a smaller capacity better matches most of your trips. |
Persistent pain, numbness, or skin irritation is a reason to stop and reassess the fit rather than push through. An outdoor retailer’s pack fitter can be useful for a second set of eyes, but bring your own requirements and judge the result by how the adjusted, loaded pack feels on you.
The best women’s hiking backpack is the one that fits your torso and hips, carries your particular list without chaos, and remains comfortable through a real walk. Start with the body-to-pack connection, let the trip determine capacity, and make features earn their place.
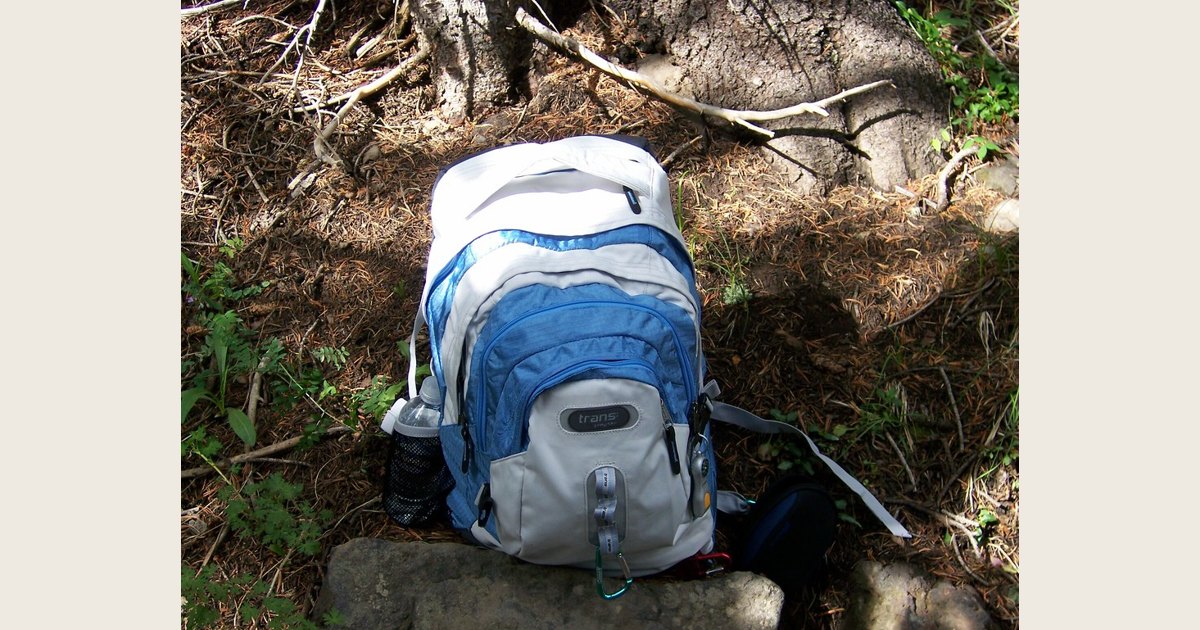
Photo: hiking backpack by andrew.petro, https://www.flickr.com/photos/14362628@N00/207756390; https://creativecommons.org/licenses/by/2.0/. Resized and padded. Illustrative stock photo; no product testing is implied.