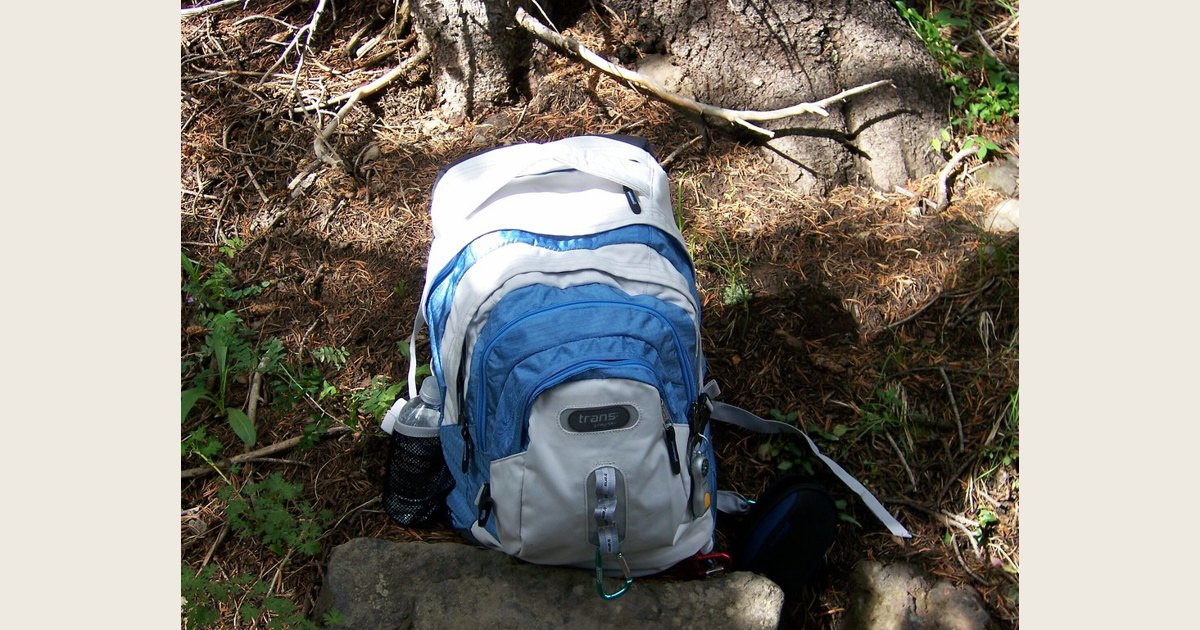
Yes—you can check a hiking backpack. The important qualifications are that the packed bag must meet your airline’s checked-baggage rules and that everything inside must be permitted. Before handing it over, contain anything that can dangle, buckle, or snag, and remove camping items that need separate treatment.
A hiking pack can also work as a carry-on, but only when its packed measurements fit the operating airline’s allowance. For perspective, Delta permits one carry-on plus one personal item, with a carry-on maximum of 22 × 14 × 9 inches including handles and wheels. That is one airline’s rule, not a universal backpack standard, and a pack that compresses at home may be larger once loaded. Check the operating airline’s carry-on policy before relying on the overhead bin.
Photo: hiking backpack by andrew.petro, https://www.flickr.com/photos/14362628@N00/207756390; https://creativecommons.org/licenses/by/2.0/. Resized and padded. Illustrative stock photo; no product testing is implied.
Key takeaways
- You can check a hiking backpack, but secure loose webbing, shoulder straps, hip belts, and removable pieces first.
- Carry it on only if it fits the operating airline’s size rule when fully packed, and be ready for a gate check on a full or smaller aircraft.
- Keep spare batteries and power banks in carry-on baggage; do not pack bear spray; and use a camp stove only when it is completely fuel-free and free of vapors or residue.
- Measure, weigh, and review the policy for the airline actually operating each flight—not just the airline that sold the ticket.
Decide: carry on or check the backpack?
Carry-on is usually the better choice when a small, lightly packed backpack meets the airline’s dimensions and you want your core gear with you. It also avoids waiting at baggage claim and makes a short connection less stressful. Put documents, medication, valuables, a phone charger, and any permitted spare batteries in your personal item so they stay with you even if the pack is gate-checked.
Checking makes more sense for a tall internal-frame pack, an external-frame pack, or a fully loaded backpacking kit. Trying to force an overstuffed pack into an overhead bin can mean a last-minute gate check, with little time to remove restricted items or tuck straps. If it clearly exceeds the allowance, check it at the counter and pack for it deliberately.
Size and weight policies vary by airline, route, fare, cabin, and partner flight. As an example, Delta’s domestic standard checked-bag guidance lists a 62-linear-inch maximum (length + width + height) and a 50-pound limit for Delta Main, Delta Comfort, and Delta Premium Select. Use the airline’s checked-bag page for your itinerary.
For a future pack, prioritize fit over a published bin size. Start with torso fit, capacity, and suspension and assess travel size when packed. For women-specific fit guidance, see how to find the right women’s hiking backpack.
How to prepare a hiking backpack for checked baggage
Think of this as reducing loose parts rather than making the pack indestructible. Baggage systems, conveyors, and other luggage create opportunities for webbing and buckles to catch. These steps make the outside cleaner and easier to handle.
1. Empty every exterior pocket and remove dangling gear
Take off trekking poles, tent poles, ice tools, carabiners, camp mugs, water bottles, and anything clipped to a daisy chain. Remove detachable lids, shoulder pouches, and rain covers if they can come loose. Put them inside the main compartment, in your personal item, or in separate luggage.
Do not leave a knife, multitool, or fuel container in an overlooked pocket. TSA advises starting with an empty bag, reviewing its item list for carry-on and checked baggage, and packing in layers. That is especially useful for packs with many small compartments. TSA’s travel checklist is the starting point.
2. Contain straps, belts, and buckles
Loosen the shoulder straps and hip belt enough to fold them flat. Buckle the sternum strap and hip belt, then route loose webbing through keepers or under compression straps. Close every zipper and compression strap to minimize exterior loops.
For a fixed or external frame, pad protruding areas with soft clothing inside the pack. Avoid taping directly to fabric or using loose wrap, which can leave adhesive or tear.
3. Add a protective outer layer when useful
A pack cover, durable duffel, or simple luggage cover can contain straps and keep dirt off the pack. Use one that closes securely without crushing the suspension, and label both it and the backpack.
This is most useful for a technical pack with many straps or a frame. For a compact pack with everything tucked away, it may be unnecessary. Photograph the packed bag before check-in as a record of its condition and attachments.
4. Pack the inside so it can be screened and repacked
Put dense, heavy items close to the back panel, cushion hard edges with clothing, and keep small loose items in pouches. Reserve the top for pieces you may need at the airport, such as a clear liquids bag or electronics.
Leave a little room rather than filling the collar to its limit. If screening requires the bag to be opened, it should close again without forcing the zipper. TSA advises layering items and keeping larger electronics accessible in carry-on luggage. Its checklist has current screening preparation details.
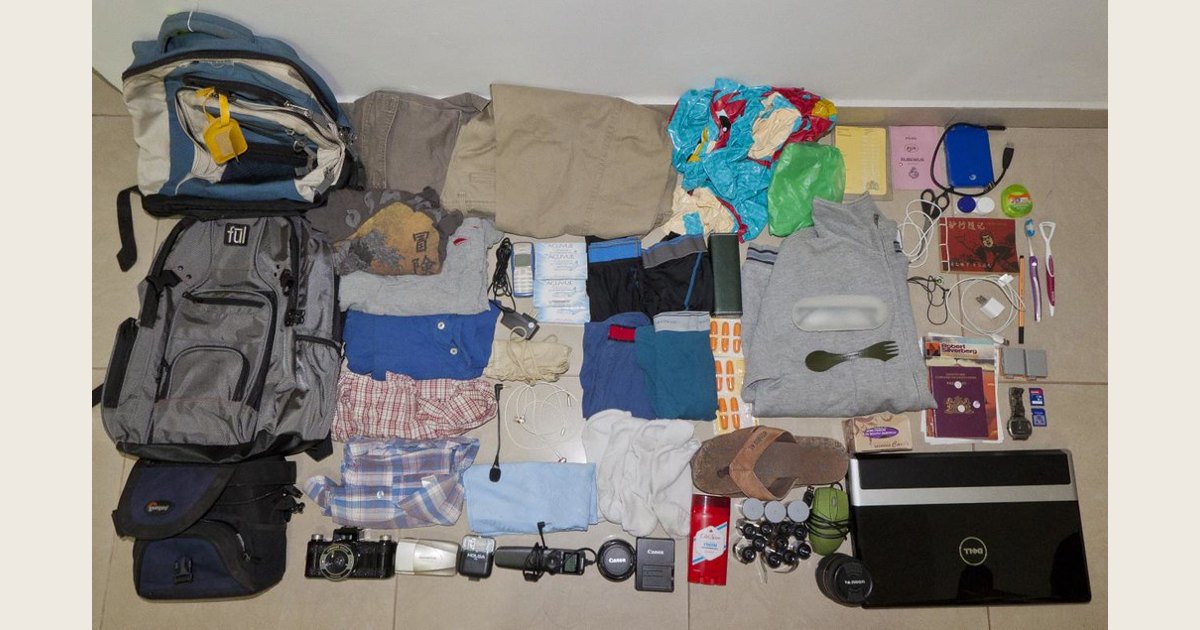
Photo: Backpack Contents for 188 days by Nestor’s Blurrylife, https://www.flickr.com/photos/7711906@N07/6192964557; https://creativecommons.org/licenses/by/2.0/. Resized and padded. Illustrative stock photo; no product testing is implied.
Camping and hiking items that need a separate decision
A checked backpack is not approval for every item in it. Check the current item-specific rule and airline policy before packing; security officers make the final checkpoint decision.
| Item | Practical action before flying |
|---|---|
| Camp stove | A stove may go in carry-on or checked baggage only when it is empty of all fuel and cleaned so no fuel vapors or residue remain. TSA’s camp-stove guidance is explicit about both conditions. |
| Fuel canisters or liquid fuel | Do not assume fuel is allowed because the empty stove is allowed. Leave fuel behind unless the current item-specific TSA and airline rules expressly permit the exact fuel and itinerary. Buy compatible fuel at your destination when possible. |
| Bear spray | Leave it out of both bags. TSA lists bear spray as not permitted in carry-on or checked baggage. See the current TSA listing. |
| Spare lithium batteries and power banks | Put them in carry-on baggage only, protect their terminals from a short circuit, and check capacity and airline limits. TSA says spare lithium-ion and lithium-metal batteries, including power banks, must travel in carry-on baggage; the standard listed limits are 100 Wh for rechargeable lithium-ion batteries and 2 grams of lithium for non-rechargeable batteries. Read TSA’s battery guidance. |
| Toiletries and liquid treatment products | In carry-on luggage, liquids, gels, and aerosols must be 3.4 ounces or less per container and fit in one quart-size clear zip-top bag. Larger containers should not be taken through the checkpoint; review the item-specific rule before putting them in a checked pack. TSA’s checklist explains the 3-1-1 rule. |
| Knives, tools, and poles | Do not guess based on a general category. Search the exact item in TSA’s current “What Can I Bring?” list and account for the airline and destination rules, especially on international itineraries. |
The clean-stove rule deserves extra attention. Emptying a fuel bottle is not the same as cleaning a used stove. If there is any doubt, do not bring it. Once you arrive and obtain compatible fuel locally, these camping-stove meal ideas can help with trip planning. Use the same caution with anything pressurized, flammable, or designed for defense.
Frequently asked questions
Can you check a hiking backpack?
Yes. It can travel as checked baggage when it meets the operating airline’s size and weight rules. Before check-in, contain loose gear and webbing, protect protruding frame parts, and keep restricted items out.
Can you take a hiking backpack as a carry-on?
Sometimes. Measure it fully packed and compare it with the operating airline’s allowance. If it does not fit, or cabin space is limited, it may be gate-checked; keep medication, documents, valuables, and spare batteries in your personal item.
Can a camp stove go in a checked hiking backpack?
TSA allows one in checked or carry-on baggage only when it is empty of all fuel and has no fuel vapors or residue. If you cannot meet that condition with confidence, leave it home and buy or rent one at the destination.
Should you use a cover when checking a hiking backpack?
A cover or durable duffel can contain straps and keep the pack cleaner, but does not guarantee protection from baggage damage. Use one for loose webbing or a frame, and put identification on both the cover and pack.
Check the right rules at the right time
Use this short sequence a few days before departure:
- Look up carry-on dimensions, checked-bag dimensions, weight limits, and fees for the operating airline.
- Recheck the rules for each connection, codeshare, and regional flight. A smaller aircraft can lead to a gate check even when your pack usually fits.
- Search TSA’s item list for every unusual item—not just “camping gear” as a broad category.
- Weigh and measure the backpack when it is fully packed, including the outer cover, straps, and anything in external pockets.
- At the airport, move documents, medication, keys, power banks, and other essentials into your personal item before surrendering the pack.
If plans change at the gate
If a gate agent requires your carry-on backpack to be checked, stay calm and take two minutes to prepare it. Remove power banks and spare batteries because they belong in the cabin under TSA’s rules. Move travel documents, medication, fragile essentials, and anything you need during a missed connection into your personal item. Then buckle and tuck the hip belt and shoulder straps before the pack leaves your hands.
On arrival, inspect the pack and its outer cover before leaving the baggage area. If a strap, buckle, frame, or zipper appears damaged, document it with photos and speak with the airline’s baggage desk promptly. Keep your baggage receipt and any claim information.
Final pre-flight checklist
- The pack meets the operating airline’s checked or carry-on size and weight rule.
- No loose straps, belts, cords, or clipped-on gear remain outside.
- The frame and hard items are padded, and exterior pockets are empty.
- Fuel, bear spray, and other restricted items have been removed or independently verified.
- Spare batteries and power banks are in your carry-on, not the checked pack.
- Your personal item holds documents, medication, valuables, and a change of essentials.
- The pack has identification inside and outside, and you have photographed it before check-in.
With those checks complete, a hiking backpack is simply another piece of luggage—one that has been packed with more care for its straps, frame, and specialized gear.