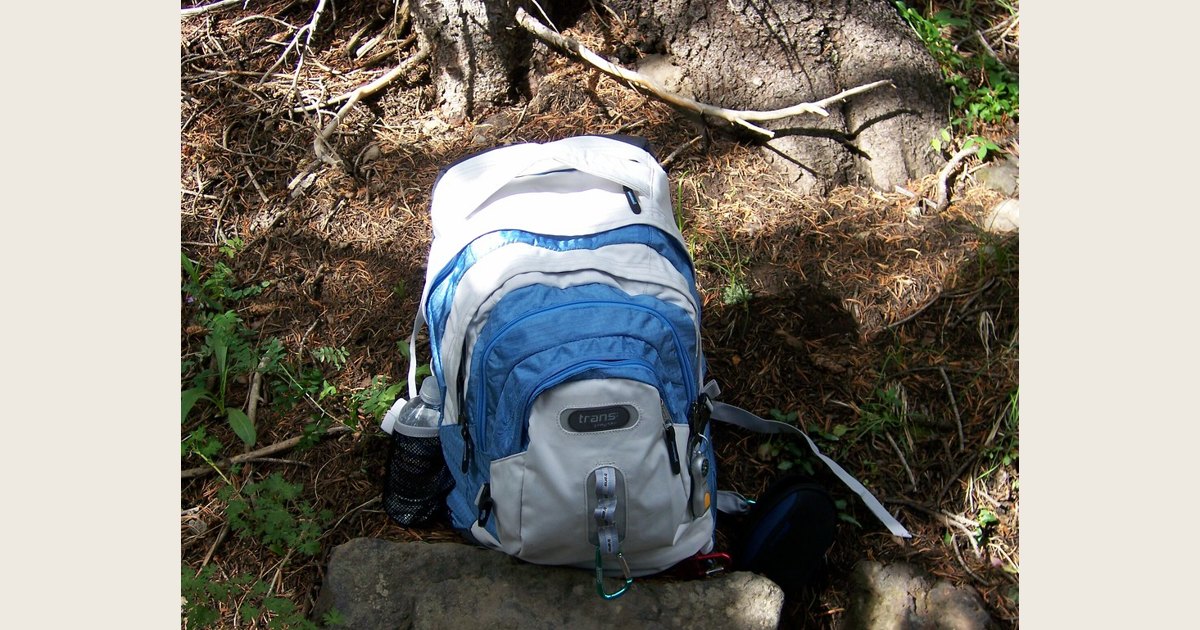
Use a hiking backpack by building a balanced load first, then adjusting it while you are wearing it. Keep soft, rarely needed items low; put dense items in the main compartment close to your back; and reserve top, hip-belt, and outer pockets for things you will need while walking. Once the pack is loaded, settle the hip belt before snugging the shoulder straps, then make small adjustments after a short walk.
Quick answer: Pack soft, infrequently used gear at the bottom; keep compact dense gear close to the back panel; and keep water, rain protection, snacks, and navigation accessible. With the pack on, position the hip belt first, remove slack with the shoulder straps, and test the setup with a short walk before leaving.
That sequence is more useful than pulling every strap tight. A well-used pack should feel stable rather than rigid, with the load close to your body and no single strap doing all the work. The exact pockets, strap layout, and adjustment range vary by model, so use the instructions that came with your pack when they differ from the steps below.
Photo: hiking backpack by andrew.petro, https://www.flickr.com/photos/14362628@N00/207756390; https://creativecommons.org/licenses/by/2.0/. Resized and padded. Illustrative stock photo; no product testing is implied.
The packing order in brief
A dependable default is to pack by weight, access, and balance rather than by trying to fill every empty space.
- Put soft, low-priority items in the bottom of the main compartment.
- Place your densest items in the main compartment close to the back panel.
- Fill gaps with lighter gear so the load does not shift.
- Put rain gear, snacks, navigation, and other on-the-go items where you can reach them.
- Balance water and other side-pocket items from left to right, then secure loose straps and compression points.
It is a starting point, not a rule that overrides your pack. Use built-in compartments and attachments only as your pack’s instructions direct.
Before you load the pack
Start with the trip, not the backpack. Check the route, weather, regulations, water plan, and any required equipment. The National Park Service describes the Ten Essentials as a set of categories intended to help with minor injuries, sudden weather changes, and unexpected emergencies; the right amount in each category depends on the activity and destination (National Park Service).
Lay gear out first and group it by purpose: sleep and camp gear; dense gear such as food and a cook kit; trail-access items such as water and rain protection; and small, wet, or messy items. This makes it easier to spot duplicates, assign accessible items a home, and keep sharp or damp gear from ending up loose against delicate items.
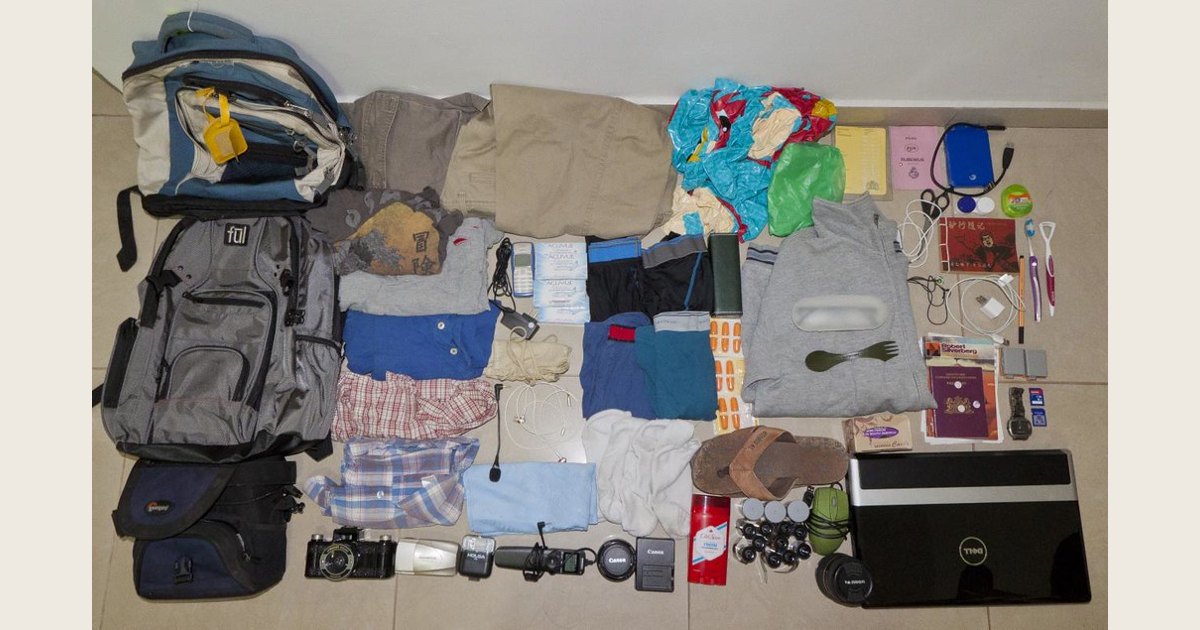
Lay out and group your kit before packing so you can assign each item a stable, reachable place.
Photo: Backpack Contents for 188 days by Nestor’s Blurrylife, https://www.flickr.com/photos/7711906@N07/6192964557; https://creativecommons.org/licenses/by/2.0/. Resized and padded. Illustrative stock photo; no product testing is implied.
Pack the main compartment
Start with soft gear at the bottom
Put soft, bulky items you are unlikely to need during the day at the bottom. A sleeping bag, sleep clothes in a dry bag, or other compressible camp gear often works well here. This creates a base without putting a hard object against your lower back.
Use a liner or separate bags to protect items that must remain dry.
Keep dense gear close to your back
Place dense items in the core of the pack, close to the back panel. Food, a cook kit, and other compact heavy pieces are usually easier to control there than when they hang off the outside or sit far from your body.
One exact height does not suit every pack. After closing the pack, it should not feel as though a dense object is pulling the load away from you. If it does, move that item inward and use softer gear to hold it in place.
Fill gaps and protect the load
Use soft items to fill voids around dense gear so the load does not slump or clunk when you move.
Example: a simple overnight load
For a short overnight hike, a simple layout could put a sleeping bag and dry sleep clothes at the bottom, a food bag and cook kit close to the back panel, and a rain shell in the remaining gaps. Keep the day’s snacks, navigation, sun protection, and headlamp in remembered outer pockets. That leaves camp gear you can wait for lower in the pack while keeping items you may need during the day within reach. If you are planning meals too, see our camping-stove meal ideas before deciding how much food and cooking gear to bring.
Keep food and odor-producing items organized for local regulations and wildlife concerns. The National Park Service advises visitors to store rations and trash securely and to pack out trash, leftover food, and litter (National Park Service). Carry a dedicated bag for waste.
Put frequently needed items within reach
Reserve the top pocket, hip-belt pockets, front pocket, and side pockets for items you may use before the next long break. A useful arrangement might include:
| Item | A practical place |
|---|---|
| Water bottle | Side pocket, if it can be removed and replaced safely |
| Rain shell or pack cover | Top or outer pocket |
| Snacks | Hip-belt or top pocket |
| Map, compass, or phone | A protected pocket you can reach deliberately |
| Sunscreen, lip balm, and sunglasses | Small accessible pocket |
| First-aid kit and headlamp | Consistent, clearly remembered location |
If you use a hydration reservoir, confirm it is closed, its hose is not kinked, and it will not leak into the pack.
Balance side-pocket weight where practical. Keep externally attached gear close to the pack and secure it against swinging or snagging.
Adjust the suspension in order
Fit is the foundation. If the hip belt never sits comfortably or the shoulder harness is obviously too short or too long for your torso, changing the packing order will not solve the underlying problem. See our guide to hiking backpack torso length, capacity, and suspension before trying to compensate with extreme strap tension.
With the pack loaded, loosen the main adjustment straps enough to put it on without fighting them. Lift carefully, settle the pack on your back, and use this order:
1. Position and fasten the hip belt
Center the hip belt where the pack maker directs and close it so it stays put. If it slides or rides uncomfortably, reassess fit rather than overtightening the other straps.
2. Snug the shoulder straps
Pull the shoulder straps until the harness lies smoothly against your shoulders and upper back. They should remove slack and stabilize the pack. Check that neither strap is twisted and both sides are similar.
3. Fine-tune upper adjustment straps, if present
Some packs have upper straps linking the harness to the pack body. Use them only as the pack instructions describe; a small adjustment can bring the load closer or release tension.
4. Close the sternum strap
Connect the sternum strap at a comfortable chest position if the hardware allows. Tighten it only enough to prevent the shoulder straps from drifting outward; it should not restrict breathing.
5. Walk, then make one small change
Walk briefly, notice sway or pinching, make one adjustment, and walk again. Changing every strap at once makes it hard to identify what helped.
Solve common comfort and stability problems
| What you notice | What to check first |
|---|---|
| Shoulders tire quickly | Reposition the hip belt, remove slack from the shoulder straps, and make sure dense gear is close to the back panel. |
| Pack pulls backward | Move compact heavy items inward, check the main compartment for voids, and review any upper adjustment straps according to the pack manual. |
| Pack swings from side to side | Balance side-pocket weight, secure external gear, and use compression features as intended. |
| Breathing feels restricted or hands tingle | Loosen the sternum strap or shoulder straps slightly, stop to reset the fit, and avoid continuing with persistent numbness or pain. |
| Rain gear or water is hard to reach | Reassign it to an outer, top, or hip-belt pocket before the next segment. |
A new hotspot often has a simple cause: a bunched shirt, twisted strap, hard item against the back panel, or a strap adjusted too aggressively. Stop early rather than waiting for a small irritation to become a long hike with an uncomfortable load.
Make a final trailhead check
Before walking away, check that:
- Nothing loose can swing, drag, or catch.
- Water, navigation, rain protection, and snacks are reachable.
- A headlamp and first-aid supplies have a known location.
- Food and trash storage follow local rules.
- The pack is a load you can control on uneven ground.
The National Park Service includes navigation, extra clothing, a hands-free light, first-aid supplies, extra food, water and treatment supplies, and emergency shelter among the Ten Essentials (National Park Service). It also recommends knowing local regulations and preparing for weather, hazards, and emergencies (National Park Service).
Frequently asked questions
How tight should a hiking backpack be?
Tight enough that the load stays close and does not sway, but not so tight that you cannot breathe deeply, move your shoulders, or stand naturally. Start with the hip belt, then take slack out of the shoulder straps, and use the remaining straps for small refinements. If you need extreme tension to keep the pack stable, revisit the packing layout or the pack’s fit.
Where should I put the heaviest items?
Place compact dense items in the main compartment close to the back panel, then surround them with softer items so they cannot migrate. Check the result with a short walk. Put frequently used small items in accessible pockets rather than burying them behind dense gear.
Should I hang gear from the outside of my pack?
Only when the pack is designed to secure that item and you can prevent it from swinging or snagging. External attachment can be useful for wet or awkward gear, but it is usually a poor default for dense items. Keep the outside tidy before you start hiking.
What if I still cannot get comfortable?
Empty the pack enough to inspect the harness, back panel, and hip belt. Repack the densest items closer to your body and make sure the left and right sides are balanced. If the adjustment range still cannot produce a stable, comfortable carry, the backpack may not match your torso or load. A pack-specific fitting guide or a qualified outfitter can help identify that issue. For more fit-focused buying guidance, see our guide to women’s hiking backpacks.
Use the pack as a system
A comfortable carry comes from a stable load, accessible essentials, and a suspension adjusted in a repeatable order. Pack soft gear low, keep dense gear close to your back, avoid loose external items, and establish the hip belt before fine-tuning the rest. Then test the setup during a brief walk instead of discovering its weak points miles down the trail.
No generic guide can replace the instructions for your particular backpack or the requirements of your destination. When in doubt, prioritize a load you can control, carry the safety items appropriate to the trip, and follow the local rules for food, waste, and storage.